Getting a photo using
GIMP that is similar to the one taken with Lomo Lens is discussed. You can read about Lomography
here. Lomo photos have distinct vignette -darken edges- caused by the lens. First, we will try to mimic it in our picture. Choose circle selection tool from GIMP tool box. Select the whole picture. Click Select Menu-> Invert.

Choose Layer Menu-> New layer (or) press Ctrl+Shift+N. Then give a layer name something like Vignette. Choose Transparency and click OK.

As shown in the following picture, choose black for Foreground color and white for Background color. Select "Vignette" layer and go to Dialog menu->layer-> layer dialog. Then fill black color using Edit menu-> Fill with FG color. Remove selection by clicking select menu->None.

Open Filter menu->Blur->Gaussian Blur. Set the blur radius to about one quarter of the width of photo. In this case, set it to 150 and click OK.

Go to Layer dialog and set the Opacity of Vignette layer to about 75%. In fact, the value can be set according to your preferences.

Select the Background layer. Open Dialog menu->Channels->Channels dialog. Select Red channel.

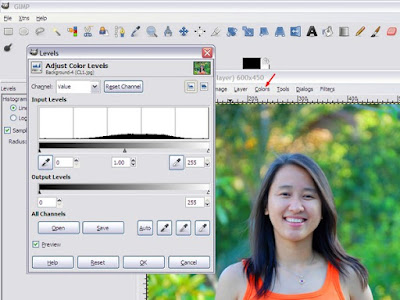
Open Color menu->Brightness-Contrast and increase Contrast about 50.

Similarly, increase contrast to 50 for Green channel. After that, you will get a lomo style photo. See the following photos for a comparison between original and lomo style photos.


Reference:
http://photoshoptutorials.ws/photoshop-tutorials/photo-effects/lomography.html
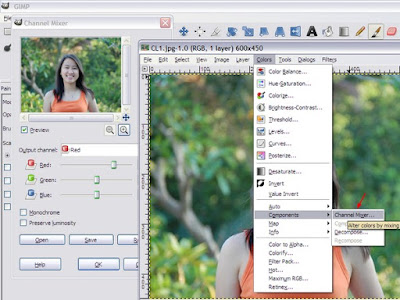
 Choose Red in Output Channel and increase Red slider to 150. Reduce Green and Blue sliders to -25 to balance it. Repeat the similar steps for Green and Blue channels.
 After that, you will get a Velvia style photo. See the following pictures as a comparison between original and Velvia style.
 After
After


