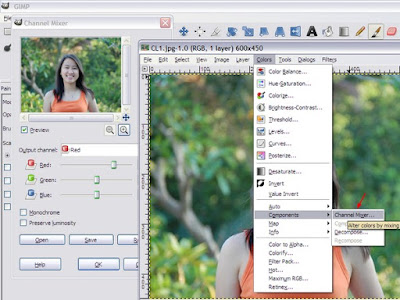
 Choose Red in Output Channel and increase Red slider to 150. Reduce Green and Blue sliders to -25 to balance it. Repeat the similar steps for Green and Blue channels.
Output Channel: Red
Red: +150
Green: -25
Blue: -25

Output Channel: Green
Red: -25
Green: +150
Blue: -25

Output Channel: Blue
Red: -25
Green: -25
Blue: +150
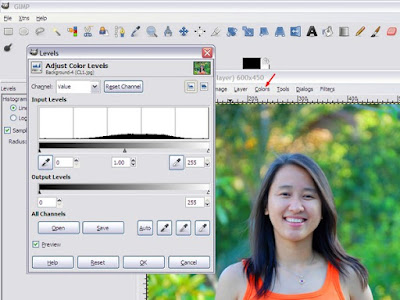
Click OK. Then choose Colors menu->Levels and increase the slider below input levels until you get a desire contrast.
 After that, you will get a Velvia style photo. See the following pictures as a comparison between original and Velvia style.
Before
 After
After
Reference:
http://photoshoptutorials.ws/photoshop-tutorials/photo-effects/velvia.html
No comments:
Post a Comment
Comments are moderated and don't be surprised if your comment does not appear promptly.