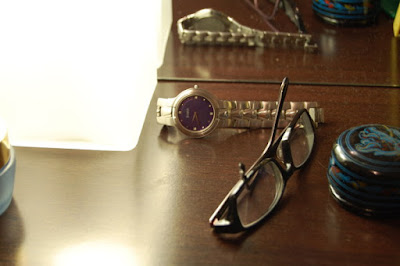
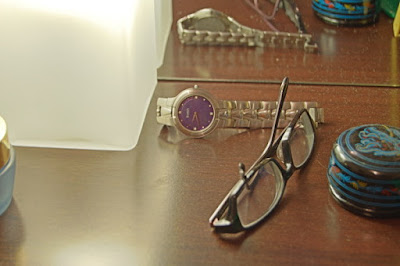
 If you increase the exposure, the lacquered box side will be OK. But the lamp side will be too bright.
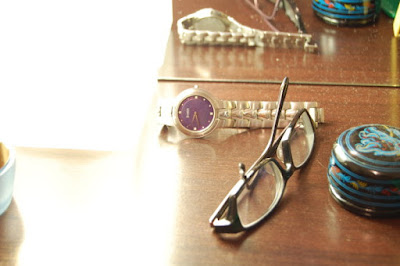 If you decrease the exposure, the lamp side will be just nice and the lacquered box side will be too dark to see properly.
We will use exposure bracketing to solve this problem. Take three exposures, one with normal exposure, another with +2 EV overexposed and the last one with -2EV underexposed. It is better to use a tripod and manual focus mode. Use fixed aperture to get same Depth of Field. After that, you need to put Exposure Blending Plug-in for GIMP.
You can download the plug-in from http://turtle.as.arizona.edu/jdsmith/exposure-blend-tinyscheme.scm. For GIMP 2.4.5, you need to put the file into C:\Program Files\GIMP-2.0\share\gimp\2.0\scripts. It can be vary according to your installed location. Then, open GIMP and click Xtns menu -> Photo -> Exposure Blend ... .
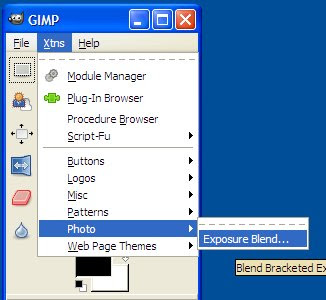 Insert the three pictures there.
 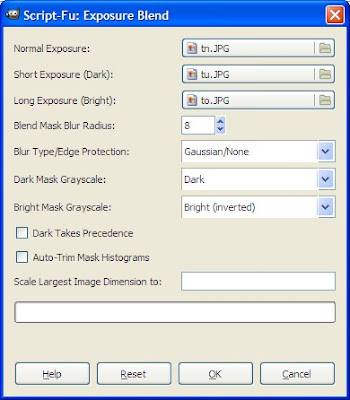 You can use your preferred settings.Click OK. After that you will get an Exposure Blended picture.
 If your pictures are not exactly the same, there is an auto align feature in some software such as Photoshop, PhotoMatix, etc. However, you need to align manually in GIMP. Go to Filters menu -> Photo -> Align Exposure Mode and you can adjust the layers using difference mode.
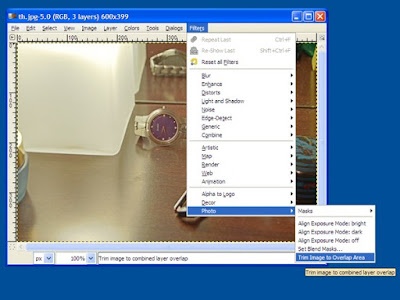 You can also go to layer windows and adjust opacity, layer mask and many others fine tunings of dark layer and bright layer.
Reference:
http://turtle.as.arizona.edu/jdsmith/exposure_blend.php
No comments:
Post a Comment
Comments are moderated and don't be surprised if your comment does not appear promptly.